
Sergio Python Kit Tutorial: Zephyr LLM

Tonight we're going to hook up the Zephyr Large Language Model (LLM) to Sergio's Python Kit.
As you may be aware, Python is the preferred programming language for developing top-tier LLM chatbots. With the introduction of Sergio 6 Pro, we now have the capability to seamlessly integrate any LLM with Sergio. It's essential to note that the performance of LLMs is significantly influenced by the computational power of the host system. Without a robust GPU (graphics processing unit), response times can be frustratingly slow. To address this concern, we've carefully selected the Zephyr LLM, boasting only 7 billion parameters. Despite its low parameter count, the Zephyr LLM offers exceptional conversational abilities, positioning it as a formidable competitor even over ChatGPT, which operates on a supercomputer and boasts a staggering 1.76 trillion parameters. Let's delve into the details and get started on this exciting journey.
If you'd like to visit the official Zephyr HuggingFace page, go here.
-
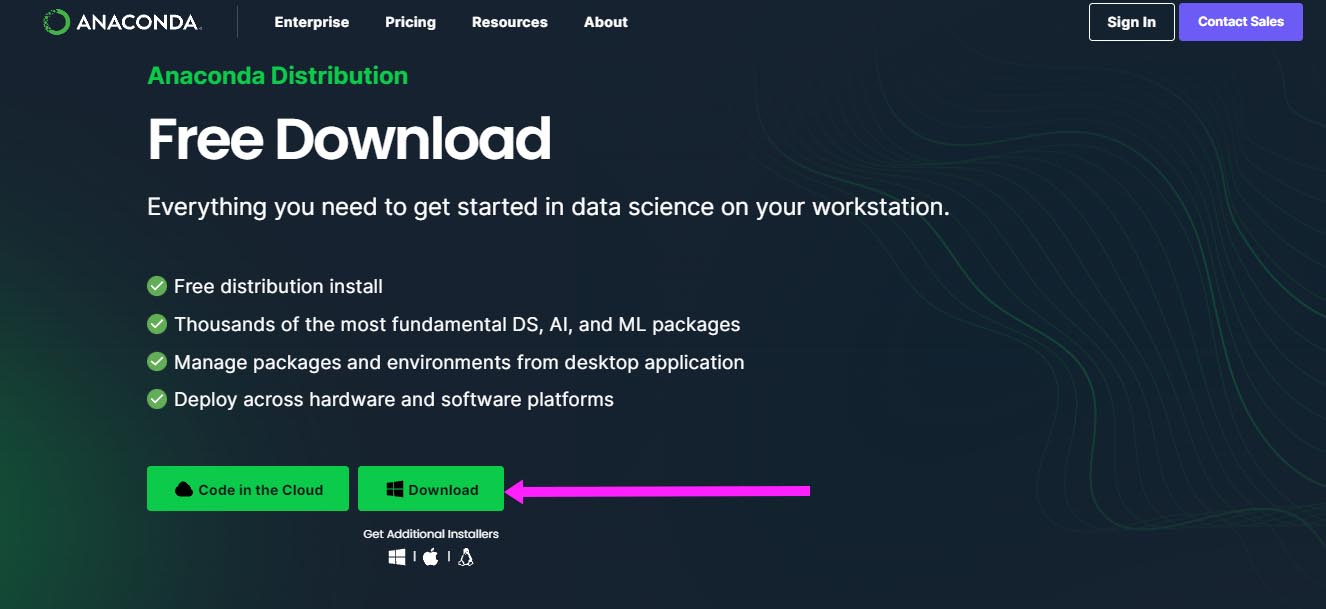
First, we need to install Anaconda. Go to https://www.anaconda.com/download and click the download button.
As you may be aware, Python is the preferred programming language for developing top-tier LLM chatbots. With the introduction of Sergio 6 Pro, we now have the capability to seamlessly integrate any LLM with Sergio. It's essential to note that the performance of LLMs is significantly influenced by the computational power of the host system. Without a robust GPU (graphics processing unit), response times can be frustratingly slow. To address this concern, we've carefully selected the Zephyr LLM, boasting only 7 billion parameters. Despite its low parameter count, the Zephyr LLM offers exceptional conversational abilities, positioning it as a formidable competitor even over ChatGPT, which operates on a supercomputer and boasts a staggering 1.76 trillion parameters. Let's delve into the details and get started on this exciting journey.
If you'd like to visit the official Zephyr HuggingFace page, go here.
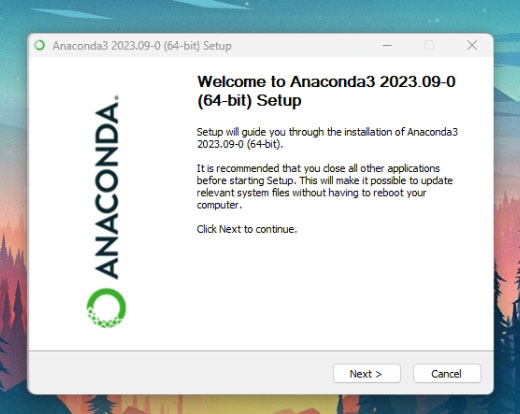
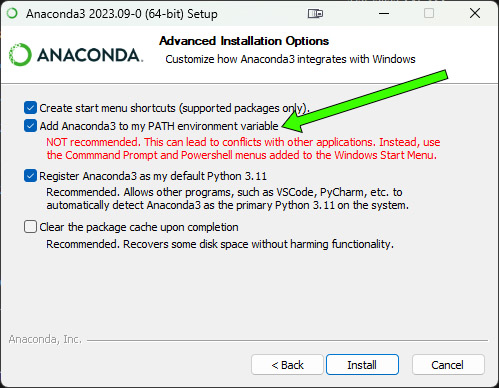
Go ahead and check Add Anaconda3 to my PATH environment variable. Ignore the warning. Click Next. At the end, don't run the Navigator. Just exit the installer.
Type this into the Command Prompt:
D:
cd D:\AI\Zephyr
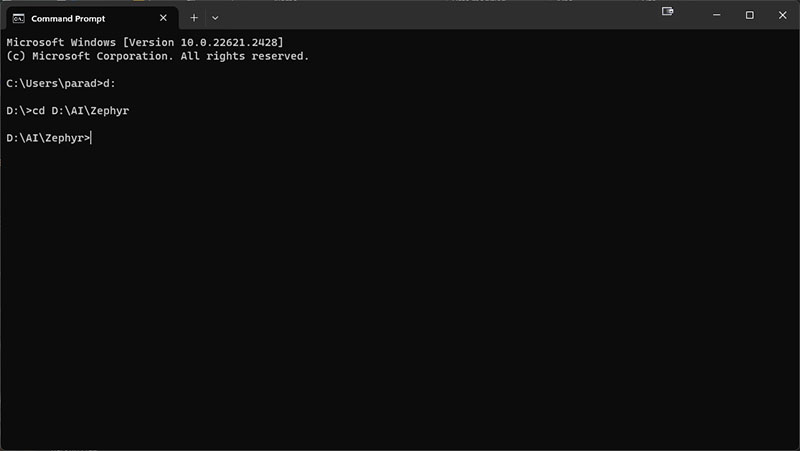
conda create --name zephyr
When it asks, type "y" for yes.
When it completes, we will activate and enter the environment. Type this into the Command Prompt:
conda activate zephyr
The Command Prompt will change to reflect that we are now inside the zephyr environment: (zephyr)
conda install -c conda-forge accelerate
pip install transformers
pip3 install torch torchvision torchaudio --index-url https://download.pytorch.org/whl/cu121
python test1.py "What is the history of apples?"
The first thing the script will do is download the LLM files. It's a large download but it only happens the first time you run it.
After a while, Zephyr will spit out its first response. Congratulations! It's working!
"#InMessage" "#PreviousOutMessage" "#PreviousInMessage" "#PrevPreviousOutMessage" "#PrevPreviousInMessage" 60
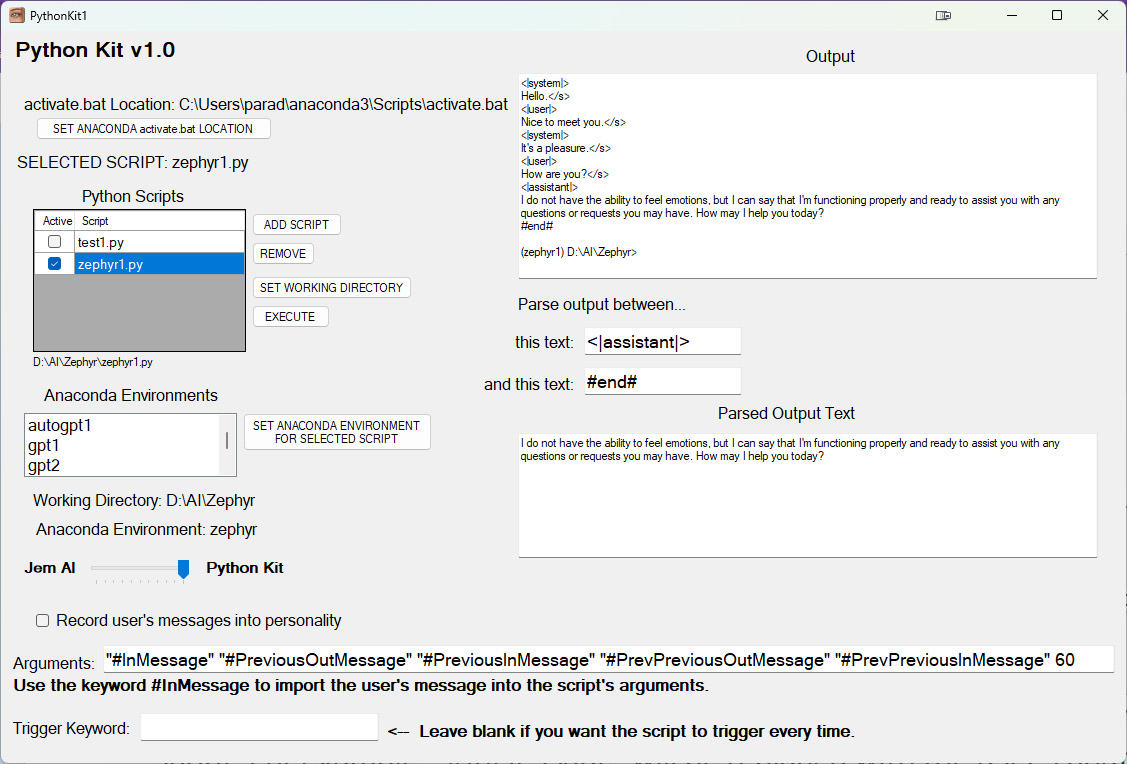
The above arguments are the messages that will be fed into the zephyr1 script. For example, "#InMessage" will be replaced with the user's chat input or "in" message. And "out" keywords like "#PreviousOutMessage" are what comes out of the script, the output, the response. We feed all these messages into the Zephyr script to give it as much data about the current conversation. The number at the end is important. It controls the number of max tokens and how long the response will be. 60 tokens is about 60 words.
Once it's done, look at the end of the output. The main response is between the word "<|assistant|>" and the word "#end#". Let Sergio know how to parse the response by putting the words "<|assistant|>" and "#end#" into the textboxes. Now it should say: Parse output between... this text: <|assistant|> ... and this text: #end#
This tutorial offers insights on connecting Large Language Models (LLMs) to Sergio. LLMs primarily serve as chatbot assistants but hold potential for broader applications as AI evolves. The future promises versatility and innovation in LLMs, expanding beyond chatbots, even into uncensored virtual companions. The AI community is excited about their potential for diverse uses, making it an exciting time to be involved in this evolving field.


